Sound reactivity restored to room lighting
The super cool lights I set up in my Tokyo apartment made the journey back to the United States, but they’ve been incapacitated after I was tinkering and then got slammed with work for months. I finally sat down to organize some of the code and get the sound reactivity back, and it’s better than ever!
Hardware details in a separate post.
Yesterday Sean came over to work on his computer science class project, which is in the language C. I didn’t think I had used C before, but I did think I was using C++ for my Arduino projects. The Arduino FAQ makes this unclear. The languages are nearly identical at least.
Anyway, in preparation for helping him, I reviewed a C programming tutorial. It was a bit clunky, but did give me a bunch of insights into strange syntax I’d come across in my lights projects. Now I’m pretty sure I understand it all.
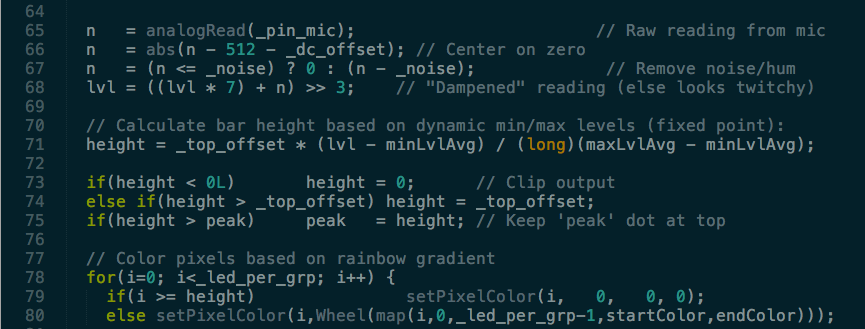
After that review, I decided to tackle reorganizing the heaping pile of spaghetti code that controlled my Tokyo bedroom. I have been wanting to break up the code into distinct files, but never took the time to research how to do that in C++ (or C). With my newfound knowledge, I managed to get it done, with a little help from error messages. I removed a bunch of color controlling functions I need to refine, but got the basic sound reactivity and rainbow modes into a new project that I checked into my Arduino Examples repository. This specific lighting project is in the ceiling directory. I’m planning many improvements, but there it is. I’ll add more information about the parts and some photos, probably to a separate post. (Here it is!)
Next I made a quick video with my GoPro while it was dark out. The audio was less than compelling, so I thought I’d quickly overlay the actual MP3 file of the music instead of using the microphone source sound. A quick search led me to a product called Wondershare Filmora. The website looked a bit too slick, so I knew there was a catch. The download buttons said “FREE” very clearly, and the Disqus comments didn’t seem to indicate it was virus laden, though that’s certainly no guarantee. I decided to chance it. The software made many attempts to get me to buy, opening the webpage and showing a bunch of popups. But I forged on, and managed to successfully line up and trim the audio I wanted. When I clicked export, I discovered the “free” software of course only exports with a giant watermark on the video. I thought this was very uncool for a product that claimed to be “FREE!!!”.
Thankfully, I suspected I could use a command line utility to get the rest of the job done. And I was right. A few StackExchange answers got me sorted in no time.
brew install ffmpeg
ffmpeg -i watermark_video.mp4
Within that output, I observed the audio is in AAC format:
Stream #0:1(eng): Audio: aac (LC) (mp4a / 0x6134706D), 44100 Hz, stereo, fltp, 127 kb/s (default)
So I extracted the trimmed audio to a file, then extracted the original GoPro video to a file (because I didn’t want the muffled audio at all), and then tried to combine them.
ffmpeg -i watermark_video.mp4 -c copy audio.aac
ffmpeg -i GOPR0221.MP4 -c copy -an video.mp4
ffmpeg -i video.mp4 -i audio.aac -c copy -map 0:0 -map 1:0 -shortest output.mp4
Within that output, there was an error message, but ffmpeg‘s authors were so kind as to provide exactly what I needed to fix right in the error message. I love when programmers are so conscientious.
[mp4 @ 0x7fe04c000c00] Malformed AAC bitstream detected: use the audio bitstream filter 'aac_adtstoasc' to fix it ('-bsf:a aac_adtstoasc' option with ffmpeg)
av_interleaved_write_frame(): Operation not permitted
So I ran the modified command:
ffmpeg -i video.mp4 -i audio.aac -bsf:a aac_adtstoasc -c copy -map 0:0 -map 1:0 -shortest output.mp4
And it worked great! Now I didn’t need to pay for the disingenuous video editing software and got the job finished. Yay Internet!


